Managing Custom Video Requests
When a fan asks for a custom video on your site, it arrives as a request in your dashboard. From there you accept it, send an invoice, film it, upload the finished files and deliver them to the client, all in one place. You can also message the client and check whether a model is interested before you commit.
Good to know: Custom Videos is turned on per store. If you don't see Custom Videos in your left menu, contact support to have it enabled.
How a request moves along
Every request moves through these stages. Each one has its own tab on the Requests page:
- Pending Approval: a new request waiting for you to accept or reject it.
- Accepted: you have accepted it, but no invoice has been sent yet.
- Awaiting Payment: an invoice has been sent and the client hasn't paid yet.
- Ready for Production: paid and ready to film.
- In Editing: you are working on the video.
- Delivered: the finished files have been sent to the client.
- Closed: rejected, declined by the client, voided or refunded.
Find your requests
-
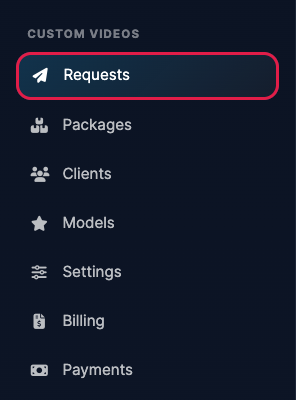
Log in to your dashboard and click Requests under Custom Videos in the left menu.
-
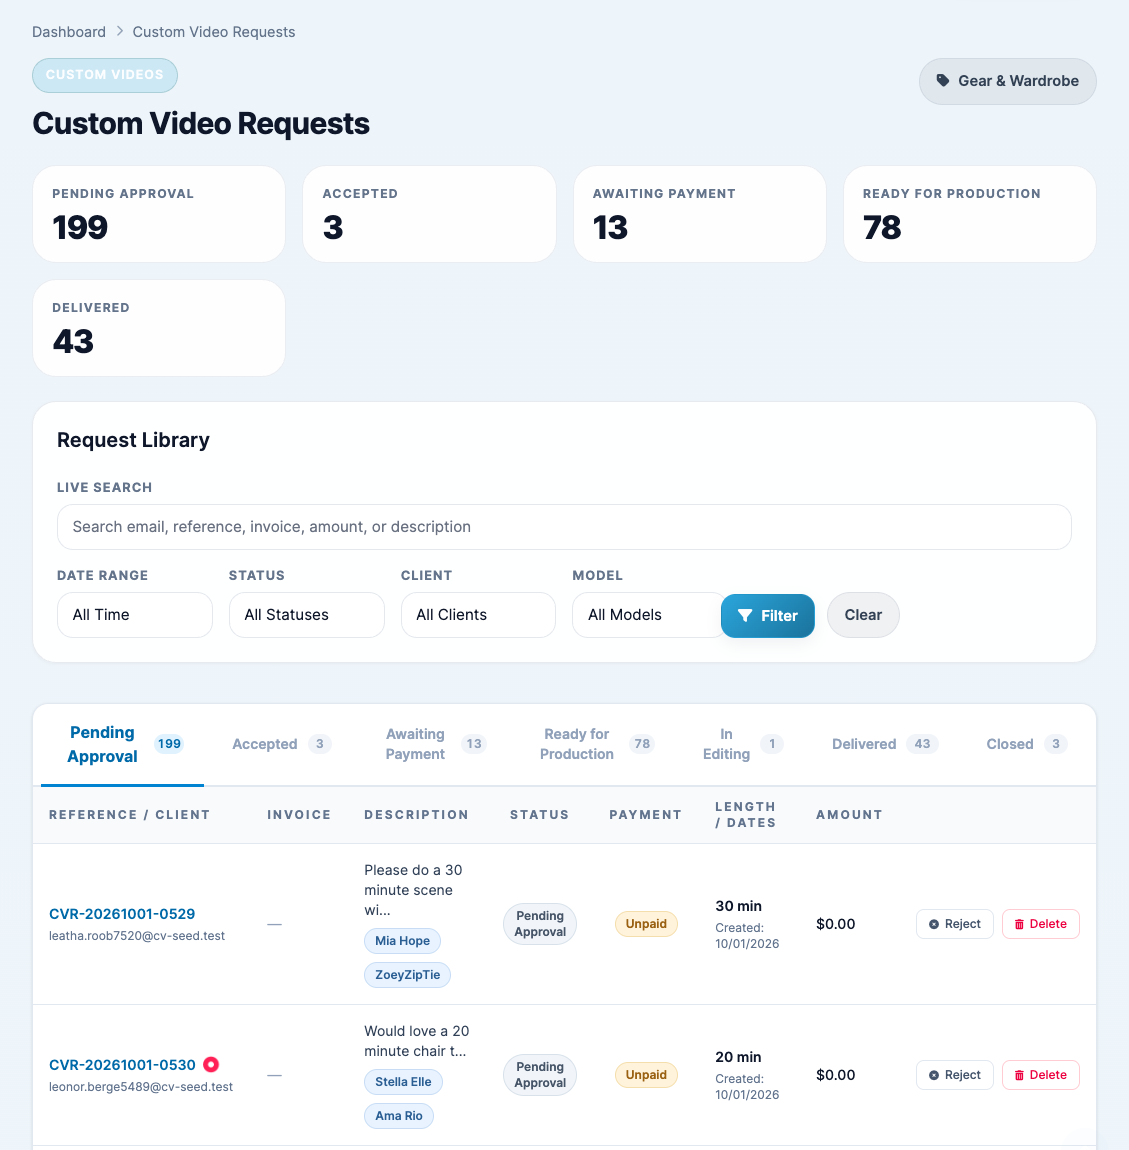
The cards at the top show how many requests are at each stage. Use Live Search to find a request by email, reference, invoice number, amount or description, or narrow the list by date, status, client or model. Click a tab to see the requests at that stage, then click a request's reference number to open it.
Accept or reject a new request
-
Open a request in Pending Approval. The Details tab shows the client's original request, the length, the models they asked for and the price. You can edit the working description, length and models if anything needs adjusting.
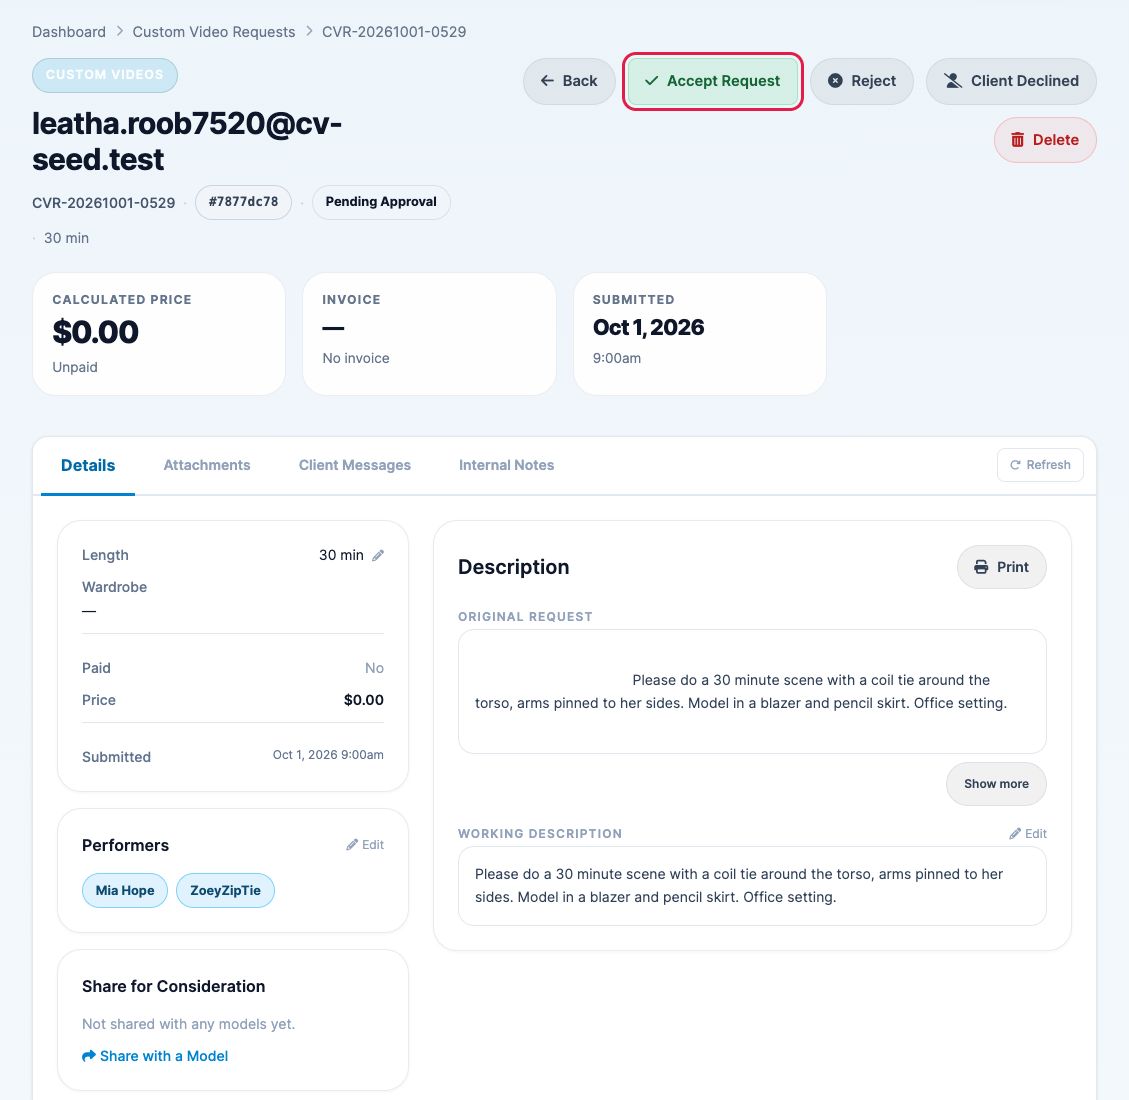
- Click Accept Request to take the job. The request moves to Accepted.
If you don't want the request:
- Reject: you are turning the request down.
- Client Declined: the client has changed their mind or backed out.
- Delete: removes the request completely. This is only available while the request is pending and has no invoice.
Send an invoice
-
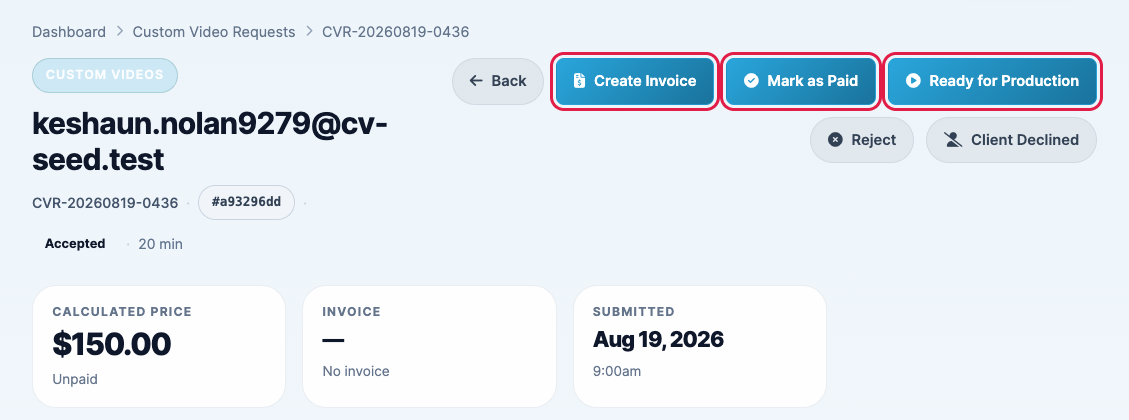
On an accepted request, click Create Invoice. If the client has already paid you another way, click Mark as Paid instead.
-
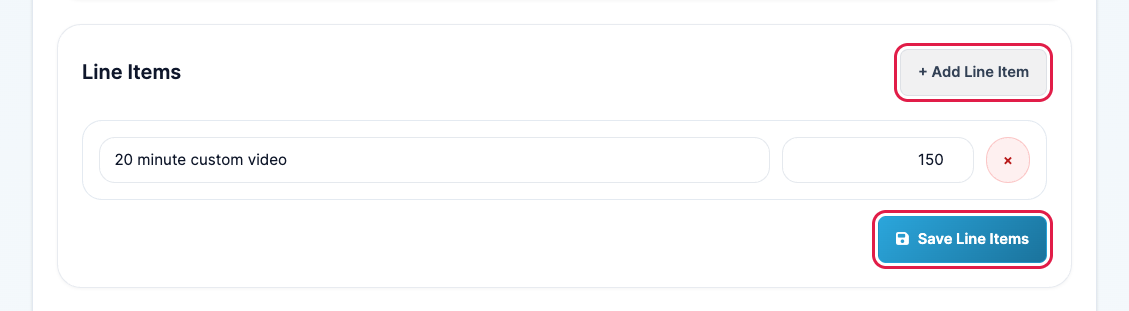
This opens the Invoice tab. Click + Add Line Item, enter a description and a price, then click Save Line Items. Add more lines if you want to charge separately for extras. The Quote Summary below shows the total, including any convenience fee.
-
Choose a Payment Method, add a personal message if you like (or leave it blank to use your default message), and click Create & Send Invoice. The client gets an email with a link to pay, and the request moves to Awaiting Payment.
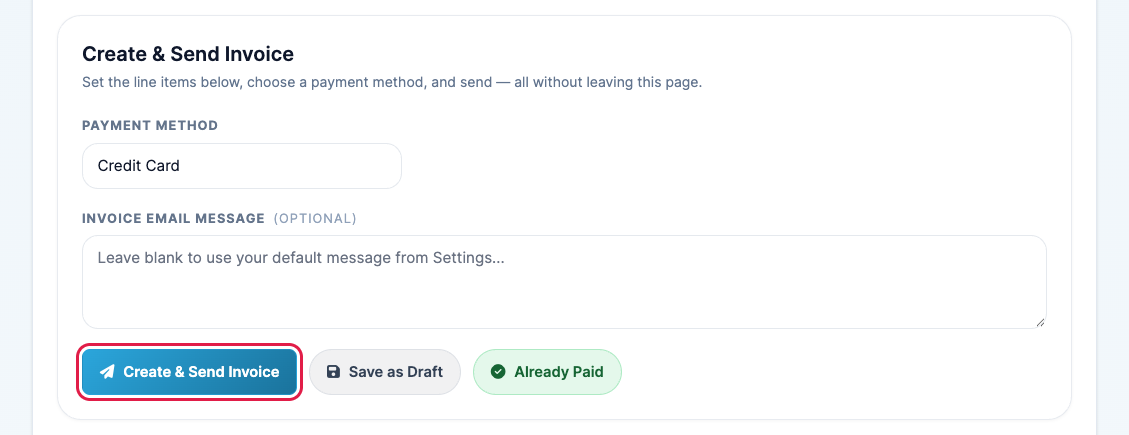
- Save as Draft saves the invoice without sending it.
- Already Paid records the invoice as paid, for example if the client paid by Cash App or gift card.
- Once the client pays, the request moves to Ready for Production.
Film, upload and deliver
-
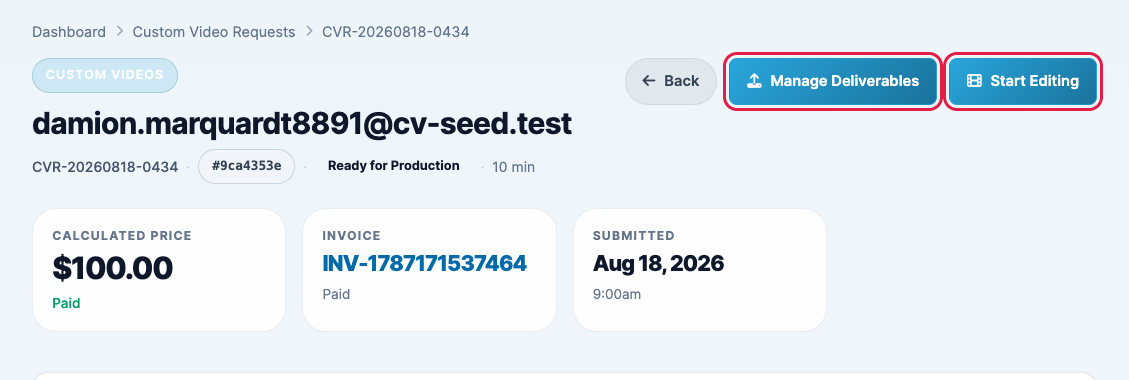
On a request that is Ready for Production, click Start Editing to show you are working on it (it moves to In Editing). When the video is finished, click Manage Deliverables.
-
Drag your finished files onto Upload Videos (MP4, WEBM, MOV or AVI) or Upload Zip Files (for photo sets), or click Browse to choose them. Files are processed automatically, and they appear under Uploaded Deliverables when they are ready. You can remove a file there if you need to replace it.
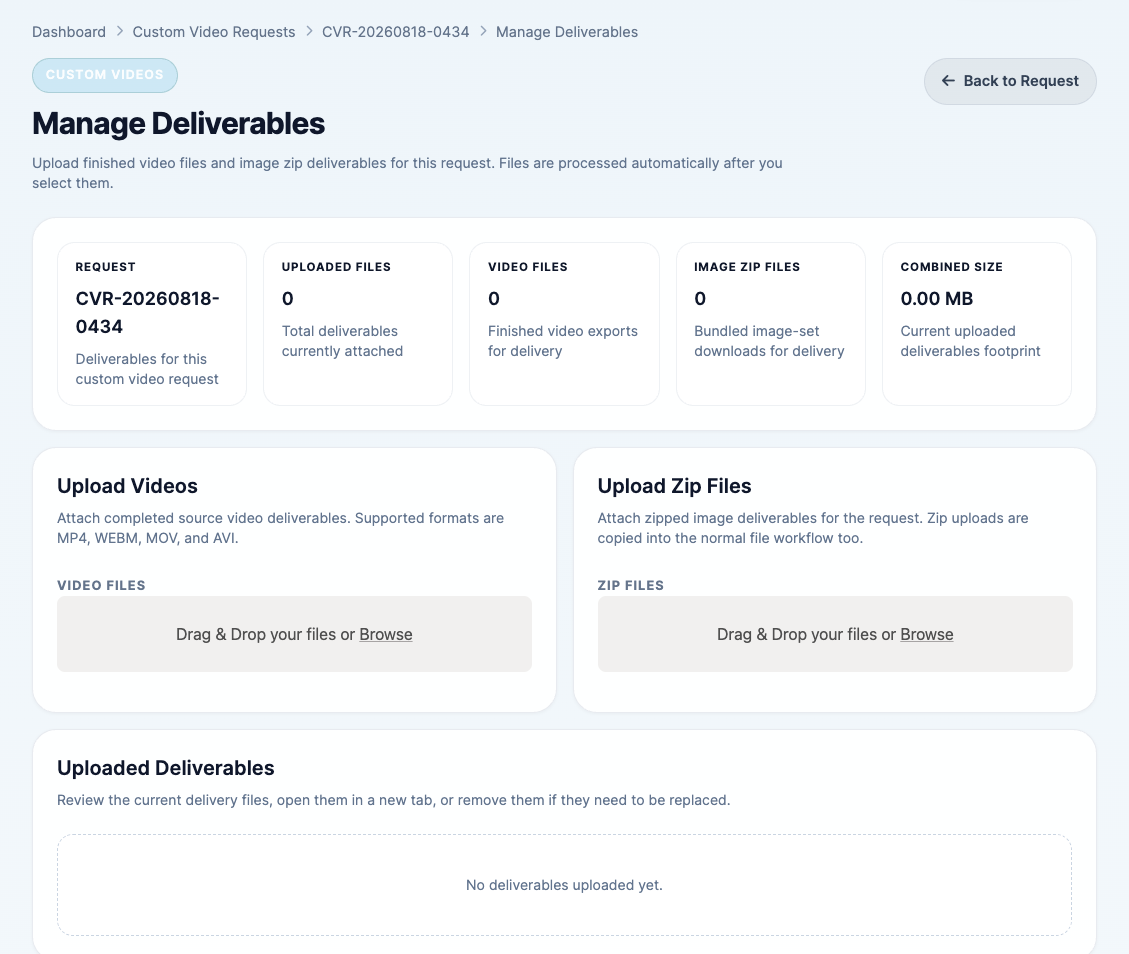
- Click Back to Request, then click Mark as Complete. This button appears once at least one file has been uploaded. The client receives an email with a link to download their video, and the request moves to Delivered.
-
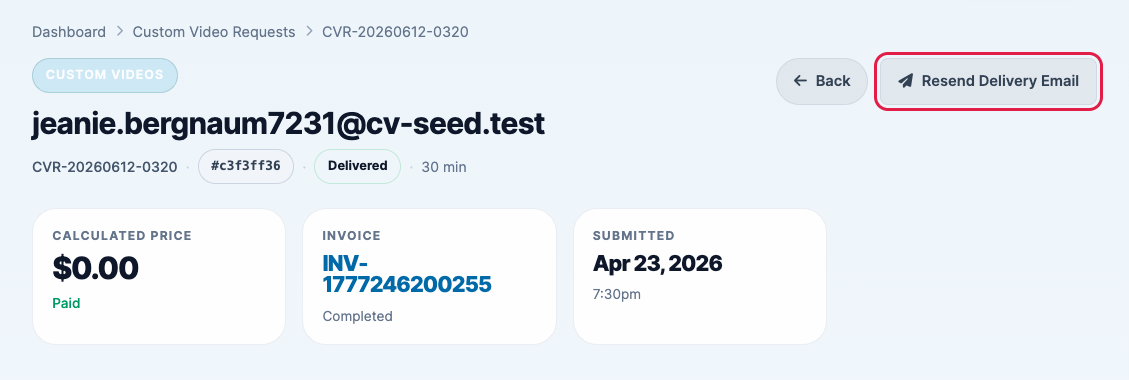
If the client can't find the email, open the delivered request and click Resend Delivery Email.
Message the client
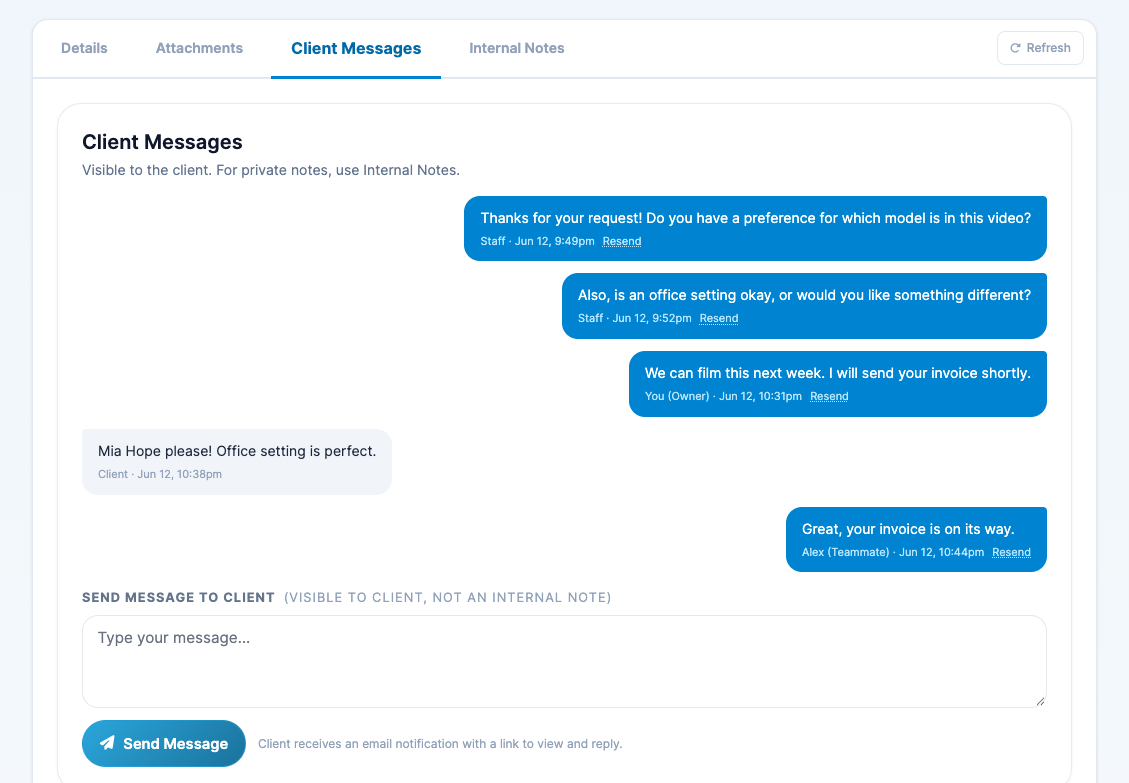
Each request has its own live chat with the client. Open the Client Messages tab, type your message and click Send Message.
- It's live: new messages appear on both sides straight away, without refreshing the page. You can keep typing while a reply comes in.
- Email notifications: the client gets an email with a link to read your message and reply. When they reply, you get an email too.
- Who speaks first: the client can reply once you've sent the first message.
- Unread replies: new replies are marked Unread. Click Mark all read once you've read them.
- Resend: if a client says they didn't get a message, click Resend under it to email it again.
Use the Internal Notes tab (or the Notes box on the Details tab) for reminders to yourself or your teammates. Clients never see internal notes.
Check whether a model is interested
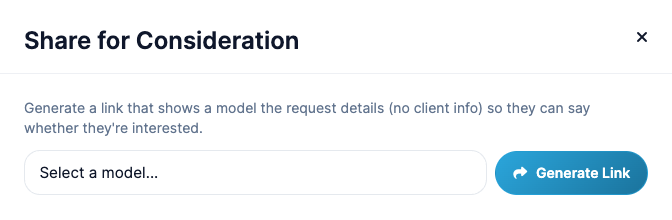
Before you accept a request, you can ask a model if they would like to do it. On the Details tab, click Share with a Model under Share for Consideration, choose the model and click Generate Link. Send them the link: it shows the request details without any client information, and they can answer Interested or Not Interested. Their answer appears on the request.