Setting Up Custom Videos
Before fans start sending custom video requests, set up how your request form works: the video lengths you offer, whether fans can pick models or categories, any extra questions you want answered, and the models who can be booked. This guide covers that setup. To handle requests once they arrive, see Managing Custom Video Requests.
Good to know: Custom Videos is turned on per store. If you don't see Custom Videos in your left menu, contact support to have it enabled.
Set up your request form
-
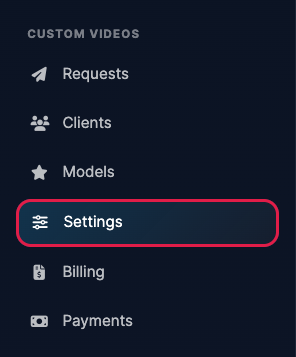
Click Settings under Custom Videos in the left menu.
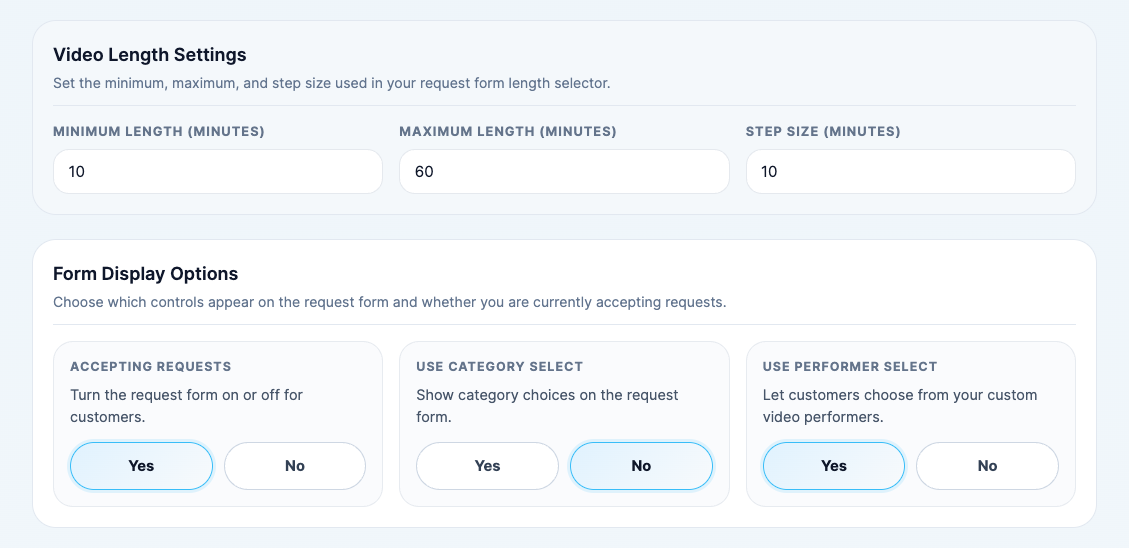
- Under Video Length Settings, set the shortest and longest video fans can ask for, and the Step Size between choices. For example, 10 to 60 minutes in steps of 10 gives fans 10, 20, 30, 40, 50 and 60 minutes to pick from.
-
Under Form Display Options, choose:
- Accepting Requests: set to No to pause your request form, for example while you're on a break.
- Use Category Select: set to Yes to let fans pick a category. This also adds Categories to your menu.
- Use Performer Select: set to Yes to let fans choose which models they want. This also adds Models to your menu.
-
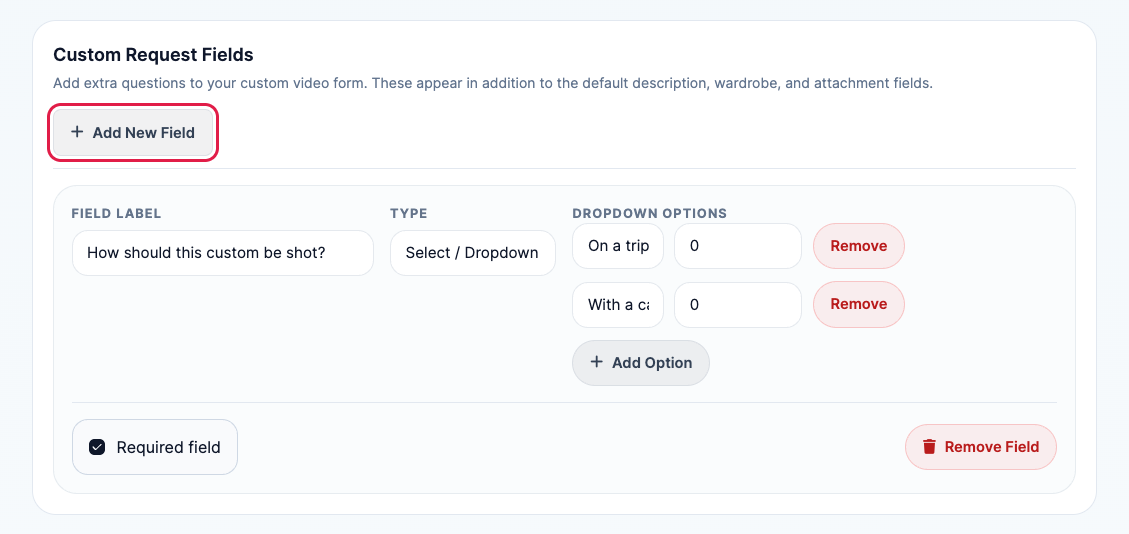
Under Custom Request Fields, click Add New Field to ask fans an extra question. Give it a Field Label and choose a Type: short text, long text, or a dropdown. For a dropdown, click Add Option for each choice; you can add a price to an option to charge extra for it. Tick Required field if fans must answer it.
-
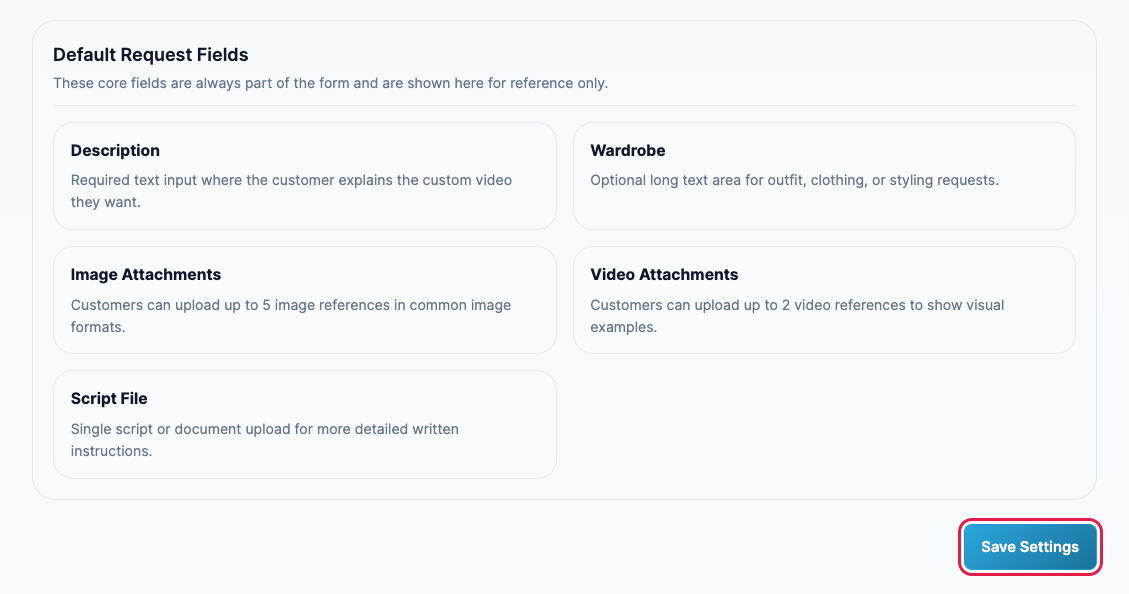
Your form always includes a description, wardrobe notes, image and video attachments, and a script file upload, listed under Default Request Fields. When you're done, click Save Settings.
Add categories
Categories let fans tell you what kind of video they want, and can add an extra charge to the price. You'll only see this page if Use Category Select is set to Yes.
-
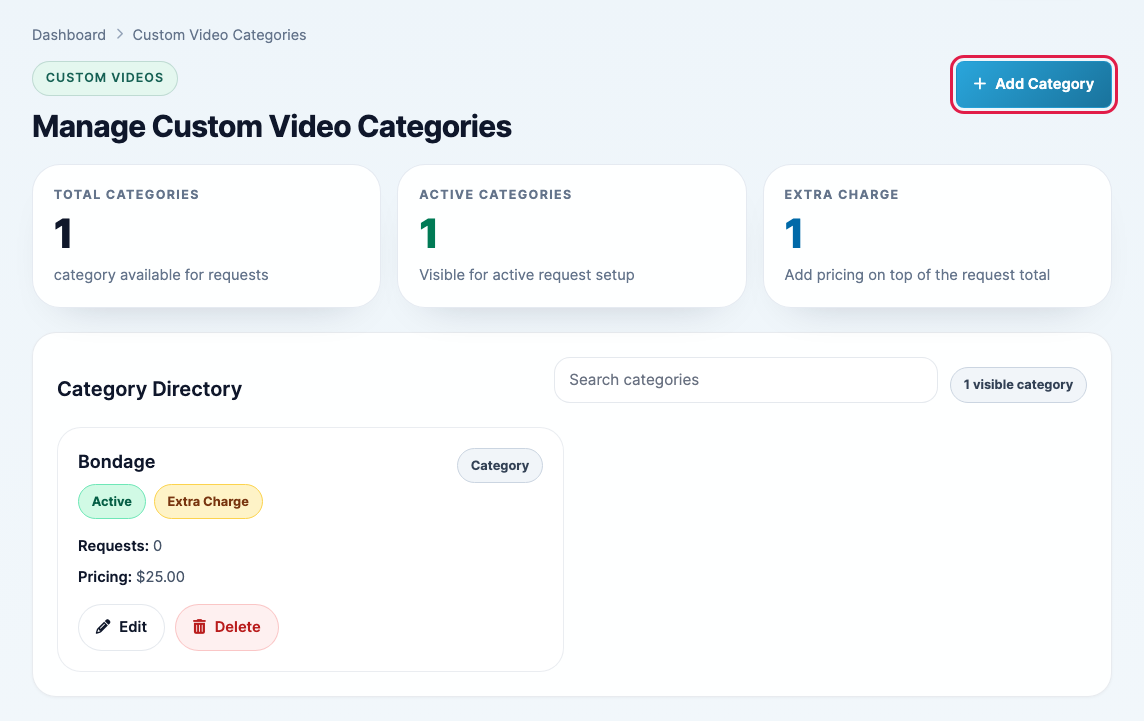
Click Categories under Custom Videos, then click Add Category.
-
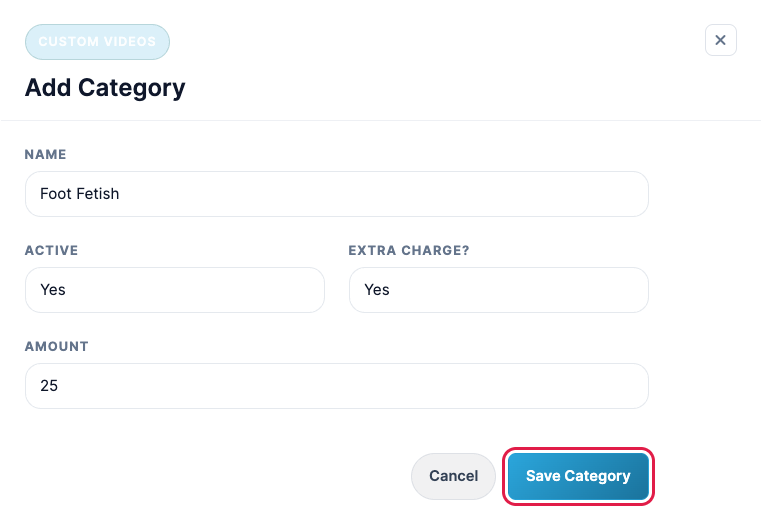
Enter a Name and leave Active set to Yes. To charge more for this category, set Extra Charge? to Yes and enter the Amount in dollars. Click Save Category.
Add your models
Models are the performers fans can choose on your request form. You'll only see this page if Use Performer Select is set to Yes.
-
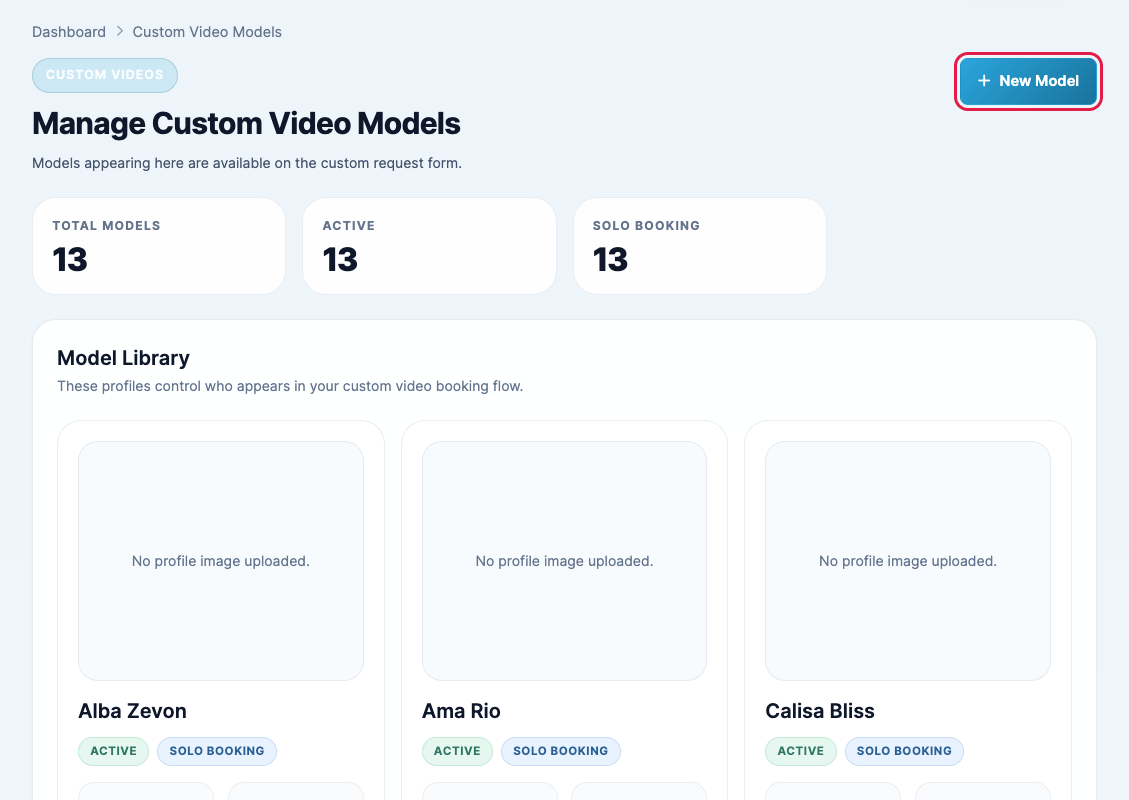
Click Models under Custom Videos, then click New Model.
-
Fill in the model's details:
- Name, and optionally their Twitter Handle and a Link to their page.
- Profile Image (640×960 works best) and an optional Intro Video.
- Active: set to No to hide the model from your form without deleting them.
- Solo Booking: set to No if this model only films with someone else. Fans then have to pick at least one more model.
- Location Type: Local or Traveling.
- Availability Type: Always Available, or set Exact Dates or a Date Range when they can film.
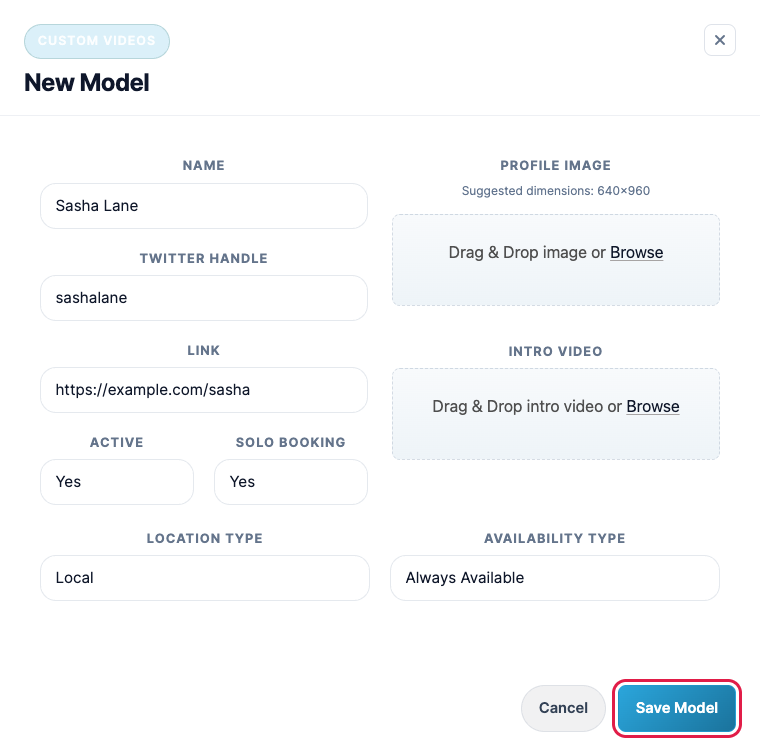
- Click Save Model. To change a model later, click Edit on their card. When editing, you can also choose which other models they are allowed to film with.
Your clients
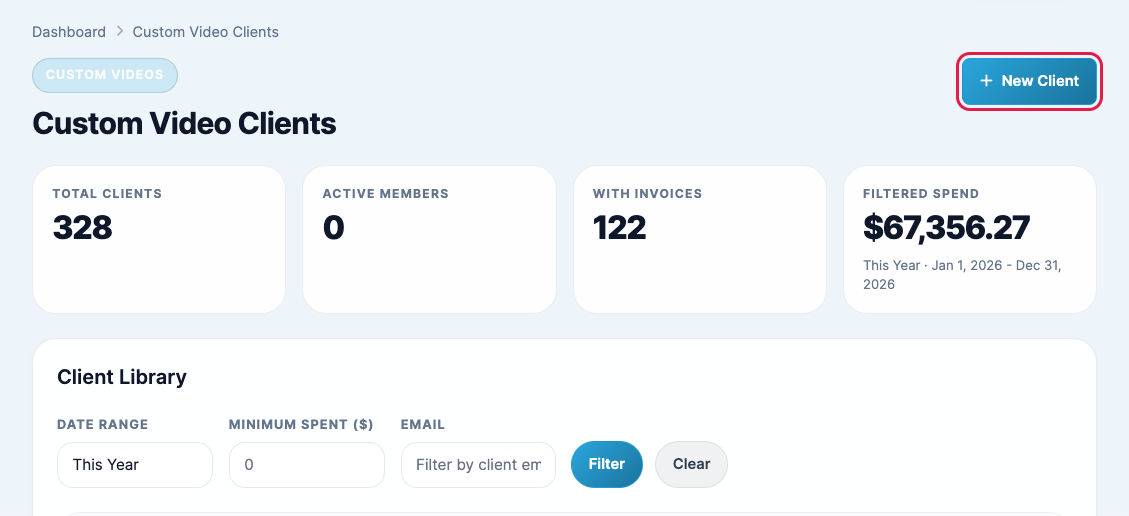
Everyone who sends you a custom video request is added to Clients automatically. Click Clients under Custom Videos to see them, search by email, or click New Client to add someone yourself, such as a fan who contacted you directly.