
Here’s a little tutorial on how to add your content to the PaysiteManager platform.
Before you begin to upload your content, please take the time to FIRST ADD YOUR TAGS AND MODELS. This will need to be done before you can properly add the content to your site.
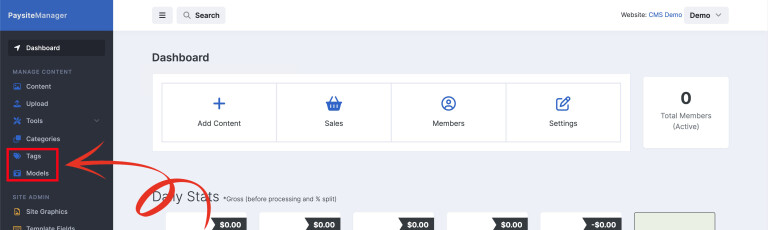

Click on the ‘Add Tag’ tab and add the tag keywords you’ll be using to describe the content in your videos.


Next click the ‘Add Model’ tab and do the same thing. Add your models Name, Twitter Handle if you like (adding this will tag the model directly in the Twitter Auto-Tweet feature), and drag and drop a photo of them into the box and then click SAVE. (The model photos should be 640×960 portrait orientation). Once you have added your tags and models, move on the uploading your content.
Upload your content-

Now that your tags and models are finished you can upload your first video. Click on the ‘UPLOAD’ tab.

Drag and drop your files into the appropriate boxes and let them upload. The counter will tick up to 100% and the box will turn GREEN. It is important that you do not navigate away or click the other tabs until the box turns green. The files will save to the server automatically and will be ready for you to match up into your content set.

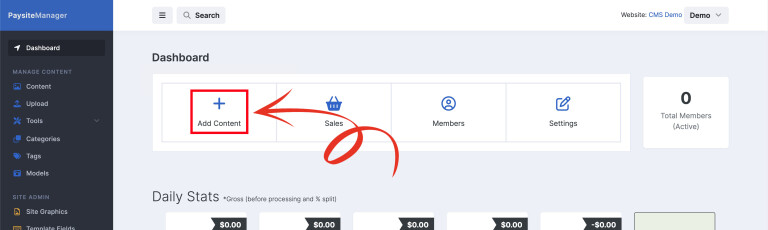
Once all of your content pieces are uploaded, it’s time to add them all together for your update. Click either the ‘Add Content’ button, or click the ‘Content’ tab, then click ‘Add Content’.
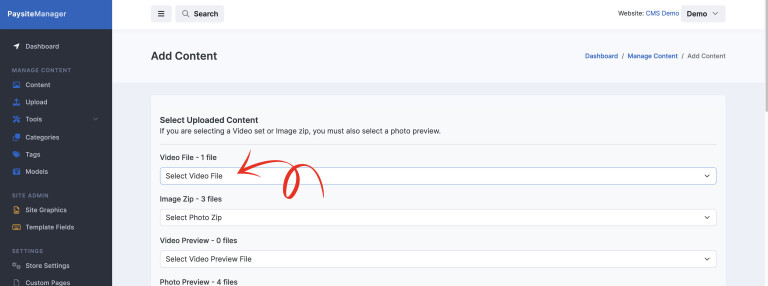
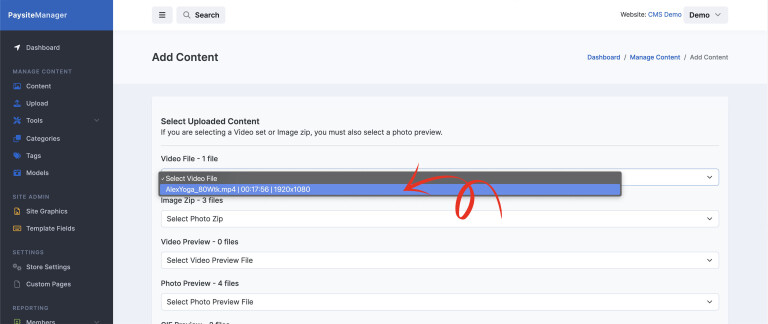
Select the appropriate content pieces from the drop down menus. Then write out your title and clip description.
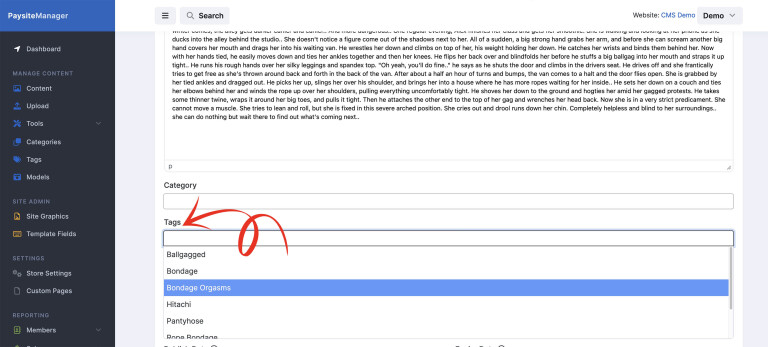
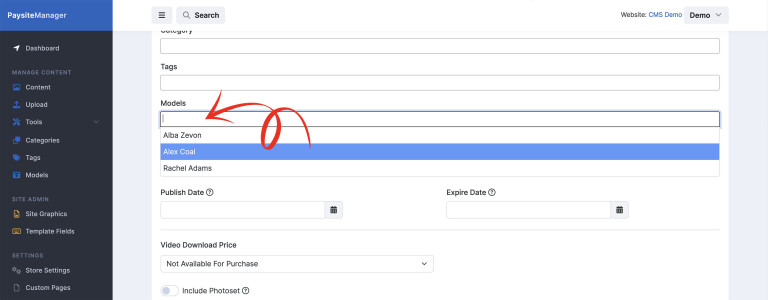
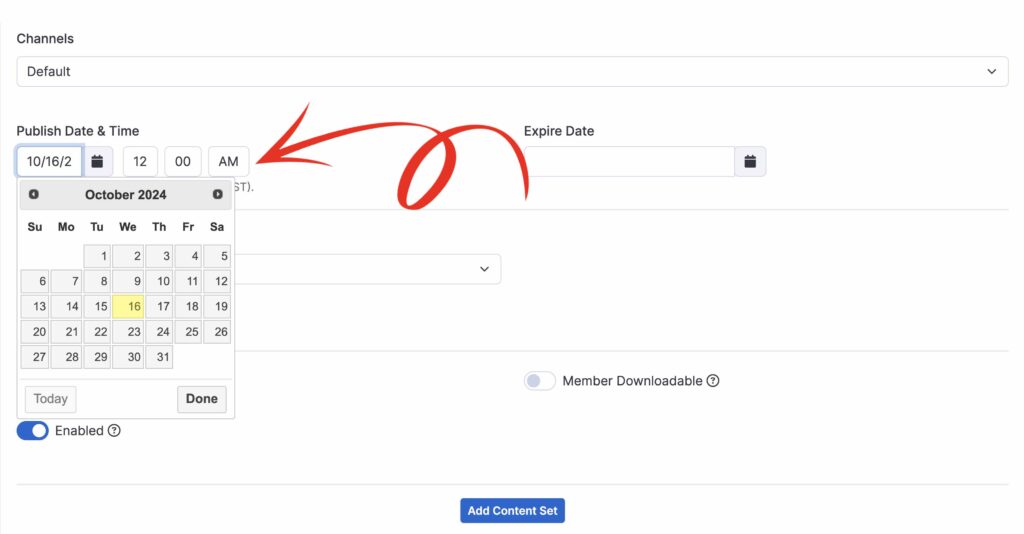
Next, add your tags and model(s) from the drop down menus (which you populated in step 1). Then set your publish date and time (expire date is optional), the download price (or leave it as ‘Not Available for Purchase’ if you won’t be selling the content individually on VOD).
Finally, you can decide your content options with the toggle switches.
-Include Photo Set- Include your photo set with the video download
-Show In Members Area- Display your content in your members area
-Enabled- Enable/remove your content from the website
-Member Downloadable- Make content downloadable from members area (for streaming sites, this should be SWITCHED OFF!)
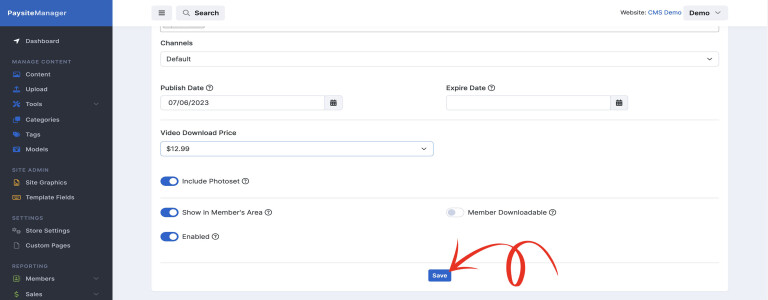
Once your content is configured to your liking, press the ‘SAVE’ button at the bottom. This sends your content to the encoder to be processed.
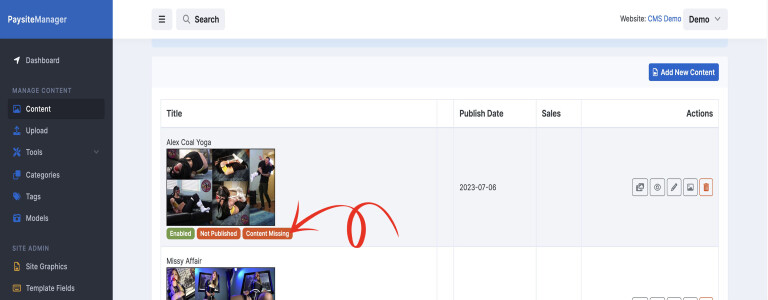
At first, your content will look like it’s missing pieces, but it is not. It is encoding and will take about 30 minutes or so to finish the process, so please be patient.
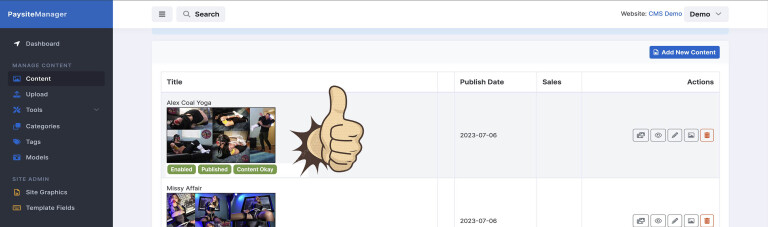
When its all done encoding, if your video is set to go live, the status will change to green and will look like the photo above. Then you’re all set! Repeat the process and add your updates!
(NOTE) If your content is set to future activate, the center box will remain red. This just means that the content is not active until the release date.